











Key takeaways
- AI product images let you turn one plain phone photo into clean, on-brand studio and lifestyle shots — no photographer, no light box.
- Shopify Magic media generation is built into your admin and free for a limited time on every plan: remove or recolor backgrounds, generate new scenes from a text prompt, and extend images. [Source]
- Images are the first thing shoppers look at: 56% of users explore product images before reading titles or descriptions. [Source]
- AI removes the cost barrier, but placement decides conversions — drop your new images into a PageFly product or landing page and A/B test them.
- Always keep at least one real, "in-scale" photo. AI is for enhancement and volume, not for faking what a product actually is.
If you sell on Shopify, your product photos are doing more selling than your copy ever will. Yet a proper photo shoot — camera, lighting, a model, editing — is exactly the cost a solopreneur or dropshipper can't justify for every SKU. That gap is where AI product images now live: you shoot once on your phone, then let AI handle backgrounds, scenes, and cleanup.
This is a hands-on guide to making and enhancing images with AI (this is about pictures, not AI product descriptions, which are a separate job). We'll cover what AI product images are, how to create one step by step with Shopify's own tools, the best third-party apps, and — the part most guides skip — how to actually get those images converting on your store.
What are AI product images?
AI product images are product photos created or edited with generative AI instead of a traditional camera-and-studio workflow. In practice, you start with a real photo of your product and use AI to do one or more of the following:
- Remove or replace the background — swap a messy kitchen counter for clean white, a solid brand color, or a transparent PNG.
- Generate a new scene — place the product on a marble countertop, a sunlit park bench, or a studio backdrop from a text prompt.
- Enhance and extend — fix lighting, sharpen, or "outpaint" the frame so one photo fits multiple aspect ratios.
- Create lifestyle or on-model shots — show the product in use or on a virtual model, which is otherwise expensive to shoot.
The important nuance: AI product photography almost always needs a real starting photo of your product. It transforms context (backgrounds, lighting, framing) far more reliably than it invents an accurate product from scratch. Think of it as a tireless retoucher and set designer, not a replacement for showing the true item. If you're new to Shopify's broader AI stack, our overview of Shopify artificial intelligence and the Shopify Magic feature set gives useful context.
Why product images make or break your conversion rate
Before you spend an evening generating images, it helps to know why they matter this much. The evidence is blunt.
Baymard Institute's large-scale product-page study found that 56% of shoppers' first action on a product page is to explore the images — before reading the title, the description, or scrolling for more detail. [Source: https://baymard.com/blog/in-scale-product-images] The same research shows 42% of users try to judge a product's size directly from its images, and struggle when stores only provide plain cut-out shots.
As Baymard's research director and co-founder Christian Holst puts it, "product images are among the most utilized product page content."
Shopper surveys back this up. A widely cited Weebly survey found that over 75% of online shoppers rate product photos as "very influential" in deciding whether to buy, and that 22% of returns happen because an item "looked different from the photos." [Source]
Read those two numbers together and the takeaway is clear: better images lift add-to-cart and accurate images cut costly returns. For a solo store owner, AI is the only realistic way to give every product that treatment without a studio budget. For more on the levers behind those numbers, see our guide to Shopify conversion rate.
How to create an AI product image in Shopify (step by step)
The fastest starting point costs nothing and needs no extra app. Shopify Magic's media generation is built into the file editor in your admin, and for a limited time it's available on every plan — Basic, Grow, Advanced, and Plus — at no additional cost. [Source] Here's the workflow.
- Start with a clean source photo. Shoot your product with your phone in even, natural light against a simple background. Shopify recommends images close to 1 megapixel with clearly visible subjects and good contrast — clean edges make the AI's job far easier.
- Open the file editor. In your Shopify admin, go to the media file and click the thumbnail to open the editor.
- Clean up the background first. Click Color background. Shopify Magic automatically detects the subject and separates it from the background. If it misses thin straps or see-through packaging, use "Choose subject" to correct the selection manually. Pick a preset swatch, a custom hex color, or make it transparent.
- Generate a new scene. Click Generate and describe the setting in plain language, e.g. "change background to a studio" or "in a sunny park, grass, bench under a tree, professional ad photography." Click Submit.
- Extend the frame if needed. Use Crop and transform, pick an aspect ratio, drag the canvas outward, and use the image-magic icon to "outpaint" the background. This turns a single square shot into wide banners and mobile-friendly crops.
- Save the right way. Click Save as new so you keep the original. Save transparent-background images as PNG — other formats can't preserve transparency. Any generated scenes you don't save are deleted when you close the editor.
Two things worth knowing before you rely on the output. Shopify applies an invisible watermark to generated images (undetectable to the eye, doesn't affect the result), and it doesn't claim ownership — you can use the images for your business inside or outside Shopify. [Source]
Prompt tips that actually work
Shopify's own guidance is that the Generate prompter is not a chatbot — treat it like keywords, not a conversation.
- Use 3–7 short phrases, comma-separated: "studio setting, concrete backdrop, warm even light, professional ad photography."
- Ground the product so it doesn't float: "drink bottle sitting on table," "boots resting on floor against wall."
- Add sizing when scale looks off: "8oz jar candle," "26 inch suitcase."
- Layer descriptors for location, lighting, color, and camera angle — e.g. "outdoors, overcast, muted colors, closeup."
Best AI product photography tools compared (2026)
Shopify Magic covers backgrounds and scenes for free, but dedicated apps go further — bulk processing, on-model shots, 3D props, and finer creative control. Here's how the popular options stack up. Prices are starting points reported in 2026 and change often, so confirm current plans on each vendor's site.
| Tool | Best for | Background removal | Scene / background generation | Reported starting price |
|---|---|---|---|---|
| Shopify Magic (media generation) | Doing it free, inside your admin | Yes (auto subject detection) | Yes (text prompts + extend) | Free on all plans, limited time |
| Photoroom | Fast, mobile-first catalog cleanup | Best-in-class, one tap | Yes (AI backgrounds) | Free tier; from ~$12.99/mo |
| Pebblely | Beginners wanting themed lifestyle scenes | Yes | Yes (90+ preset themes, bulk) | From ~$19/mo |
| Flair AI | Hands-on art direction of the shot | Yes | Yes (drag-and-drop canvas, 3D props, models) | From ~$10/mo |
Photoroom is the most-downloaded AI photo app in the space, with 150M+ downloads, and its background removal is widely rated the fastest and cleanest. [Source] For most solo Shopify stores, the honest recommendation is: start with the free Shopify Magic editor, and only add a paid tool when you need bulk output or on-model shots it can't produce.
If you're managing hundreds of SKUs, treat images as part of your wider merchandising system — see our guide to organizing a Shopify catalog so consistent imagery scales without chaos.
Where AI product images actually convert: your PageFly pages
Here's the trap. Generating beautiful images is now the easy part. Getting them in front of shoppers in the right layout — and proving they lift sales — is where most stores stall. A great lifestyle render buried below the fold does nothing.
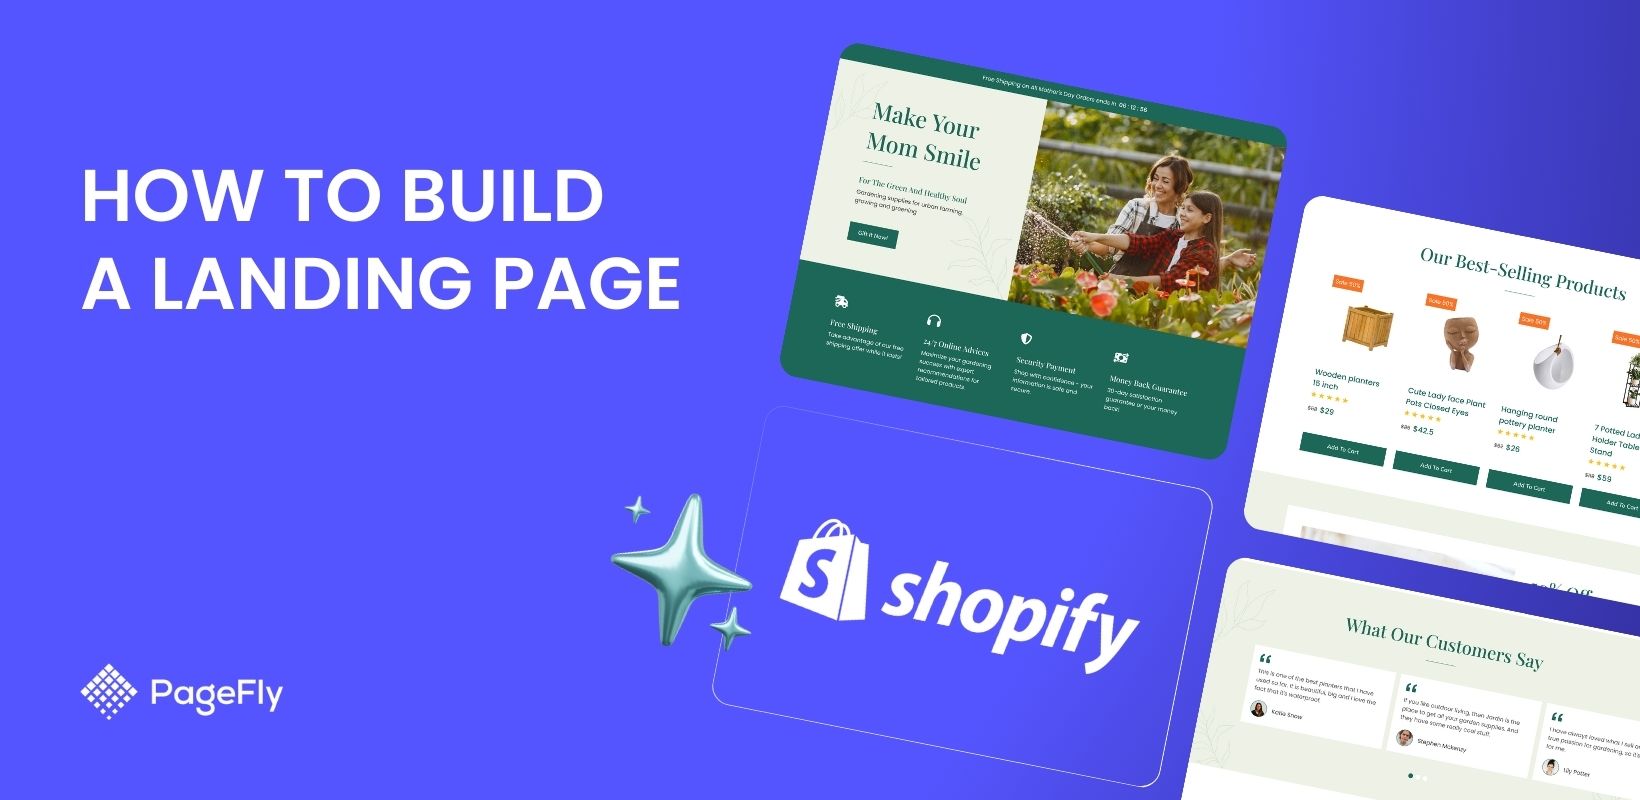
This is exactly what a page builder is for. With PageFly's visual editor, you can drag your AI-generated images into a product or landing page, build image galleries, place "in-scale" and lifestyle shots exactly where they carry weight, and control how everything reflows on mobile — no code required. For inspiration on layout, our roundup of the best Shopify product pages shows how top stores sequence hero, lifestyle, and detail shots.
Then do the part that separates guessing from knowing: test them. With PageFly A/B testing, you can run your original photo against the AI-enhanced version, split traffic, and measure add-to-cart or conversion rate directly. For the method behind good experiments, read our Shopify A/B testing guide.
A simple, high-leverage plan for a solo store:
- Rebuild your best-selling product's page in PageFly with a clean image gallery.
- Create a variant that swaps the plain white shot for an AI lifestyle scene.
- Run the A/B test for a statistically meaningful period, then ship the winner.
The same logic applies to campaigns — when you build a landing page for an ad, matching the ad creative to an AI-generated hero image keeps the visual promise consistent from click to cart.
Don't skip SEO and discoverability
AI images help humans and algorithms. Give every image a descriptive file name and alt text — it's an accessibility must and a ranking signal covered in our product page SEO guide. As more shoppers discover products through AI answer engines, being cited depends on clean, well-described media too; our pieces on Shopify GEO and choosing between Shopify Sidekick vs ChatGPT dig into that shift, alongside the rise of Shopify AI agents.
Final thoughts
AI product images have quietly erased the old excuse that "good photos are too expensive." A phone, a free Shopify Magic editor, and ten focused minutes now get a first-time dropshipper the kind of clean, scene-ready imagery that used to require a studio. But the tool is only half the win. The other half is putting those images into a page that's built to convert and then testing them — which is precisely what PageFly is for.
Start free inside Shopify admin today, rebuild one product page in PageFly, and A/B test your best AI image against your current one. If you're still choosing your platform stack, our Shopify website builder guide covers the foundations. Let the data — not your gut — pick the photo that sells.
Shopify Ai Product Images FAQ
Yes. For a limited time, Shopify Magic media generation in the file editor is available on all Shopify plans (Basic, Grow, Advanced, and Plus) at no additional cost, letting you remove backgrounds, generate scenes, and extend images directly in your admin.
Yes. Shopify does not claim ownership of images you create with media generation and does not restrict where you use them. An invisible, unremovable watermark is applied, but it does not affect the visible result or your commercial use.
Not reliably for accurate ecommerce use. AI excels at transforming context around a real photo of your product. To avoid returns and misleading buyers, always start from a genuine photo and keep at least one true in-scale image.
Start with the free Shopify Magic editor in your admin. If you need bulk processing or on-model shots, Photoroom is known for fast background removal, Pebblely for preset lifestyle scenes, and Flair AI for hands-on scene composition. Confirm current pricing on each vendor's site.
Research strongly suggests so. Baymard Institute found 56% of shoppers explore product images before reading anything else, and a Weebly survey found over 75% of shoppers rate photos as very influential, with 22% of returns caused by items looking different from their photos.
Upload your saved images in Shopify, then use PageFly's visual editor to drag them into a product or landing page, build a gallery, and control mobile layout. Use PageFly A/B testing to run the AI version against your original and keep whichever converts better.